 |
| Plans |
| Foundations |
| Ground Floor |
| Wall Building |
| Shippon Roof |
| Steel Ridge |
| Oak Truss |
| Oak Ridge |
| Rafters |
| Chinmey |
| Insulate, Felt & Batton |
| Roof Window |
| Slating |
| Big Boys Toys |
With the ridges on I was on a roll, I though I'd get the rafters on in a weekend, oh how wrong I was. At one point I was only managing 4 rafters a day. My neighbour had decided to sell up, and could no longer supply the Douglas fir rafters. I found another local supplier, who could cut the rafters and grade them. Off I went in the car to collect them all, it took 3 trips with the trailer, a whole day of collecting wood. This new supplier used a circular saw, which meant the preparation work to smooth the wood, which we would see, suddenly took a whole lot longer.
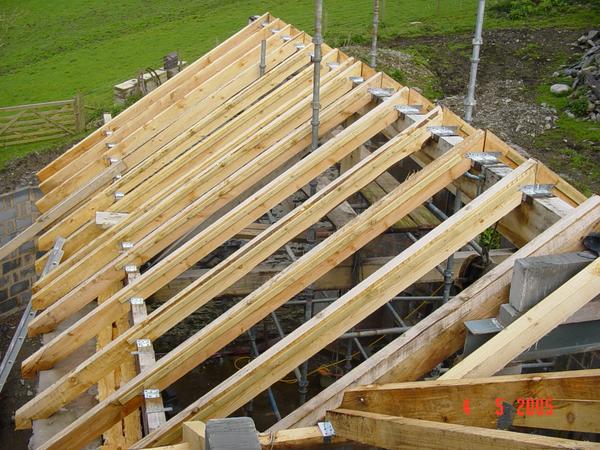
Because the wood was 50% bigger than specified, and not kiln dried it was heavy, which made more work than I was ready for. The picture shows the rafters on the main roof, from the inside.
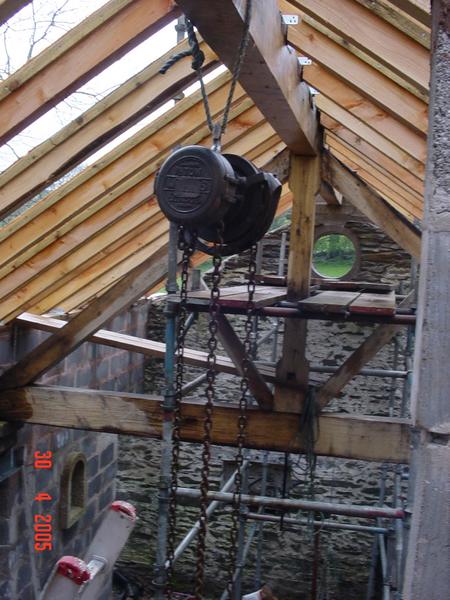
I cut all the rafters with a hand saw. I should have splashed out on a jigsaw that would cut the 3 inch timbers, but as I said I thought it was only a weekends work. I used Framing Anchors from Screwfix to attach the rafters to the ridge and the wall plate. At the ridge I was keen that the steel did not touch the oak, so I used DPC between the framing anchors and the oak, and nailed into the oak with copper nails.
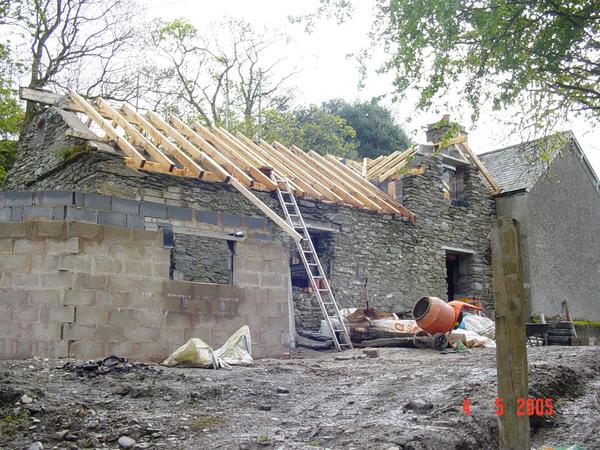
An extra wall has appeared. The wall would have been in the way if I had used a crane to lift the roof on, but was needed before the roof could be finished. This is the first time that SHMBO had any idea what the house would look like, the plans made no sense to her.
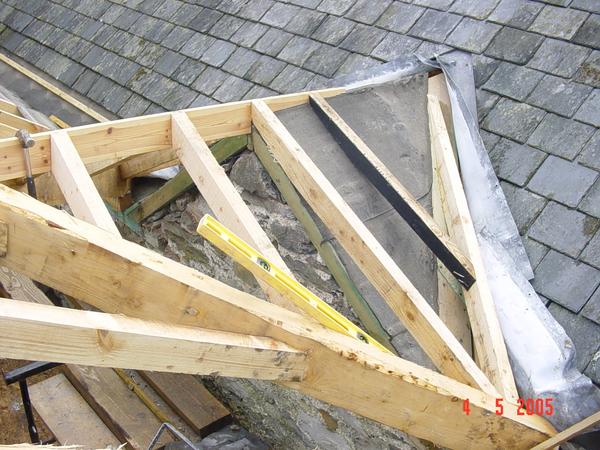
A local roofer cam and helped me sort out the join of the new roof, with the old roof. We had to strip off a few rows of slates to get to the wall plate. I packed the wall plate up 100mm to give me the full headroom in my new bathroom. The timber you see in this picture is all massively bigger than the engineer specified, but I knew I was going to have to spend a long time on the top of this roof, I wanted to feel safe. The picture shows what became the hardest bit of the roof, the valleys were the different sloping surfaces meet. It was at this point, that I was down to 3-4 rafters a day.
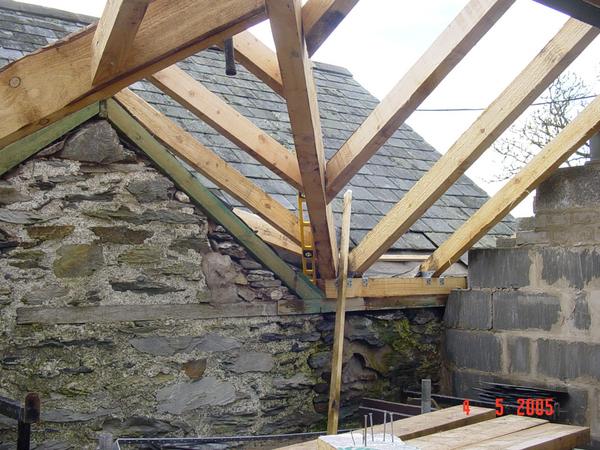
Disaster, I suddenly find that my ridge is too high, the original barn roof had had a sloped ridge, now it was flat. I measure, and re-measure, and find I had got some sums wrong. Where the new ridge meets the stub we left from the original house I was in trouble. I took a pile of photos, and sent them off to the architect. The best suggestion was to do the best I could, and slope the ridge into meet. There are only two places you can see this from, the inside, and from 1/2 a mile away across the valley, when the tress have no leaves. Still it annoys me, that I got a bit wrong.
