 |
| Plans |
| Foundations |
| Ground Floor |
| Wall Building |
| Shippon Roof |
| Steel Ridge |
| Oak Truss |
| Oak Ridge |
| Rafters |
| Chinmey |
| Insulate, Felt & Batton |
| Roof Window |
| Slating |
| Big Boys Toys |
I was somewhat unsure how to go about making the truss that would become a feature in our sitting room, and hold up the roof. I found the cost of the wood, and the cost of having one made. The wood was a fifth of the made price, and as normal, the made one could only be delivered 1/3 of a mile from the house, giving me the job of getting it onto the roof.
I decided to go for it, and make my own truss. I had all the sizes for the engineer, and made all the wood 50% thicker. My neighbour supplied me the timber before Christmas, and I carted the smaller pieces back to my main house. The bottom piece was too big to shift, so I made a template from some 4x2 pine. I spent the Christmas holidays making the truss. It was remarkably straight forward. I was amazed at the accuracy that could be obtained with the chizzes. Finally all the pieces were ready, and fitted perfectly. Time to shift it back to site.

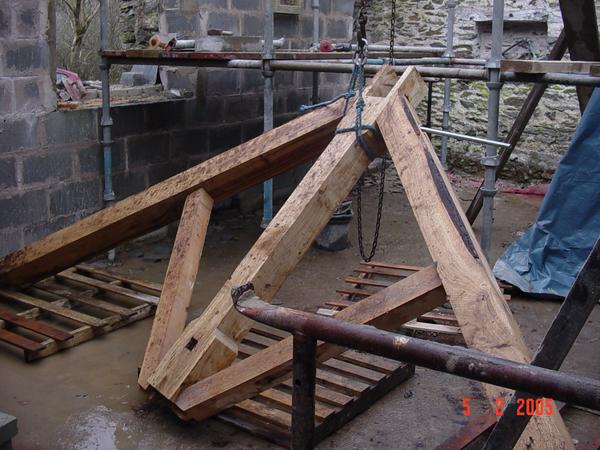
The truss was assembled. The engineer had specified 20mm bolts to hold it together, making the holes for these was fun. I duly purchased a 20mm drill bit, and set to with it in my power drill. A few inches in, and it would not turn. I worked out the drill bit had a hex end, so used a socket set and ratchet spanner to drive the drill through by hand.

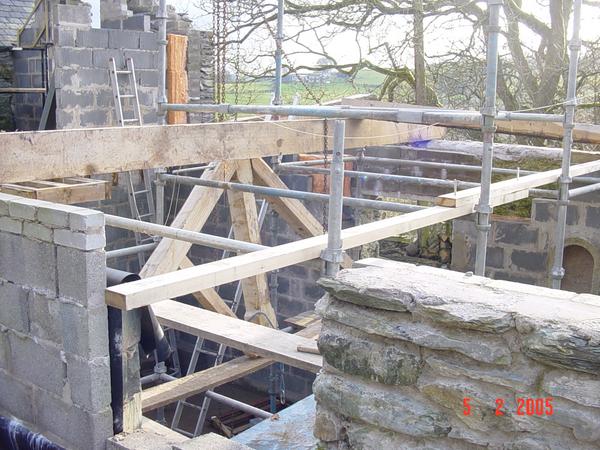
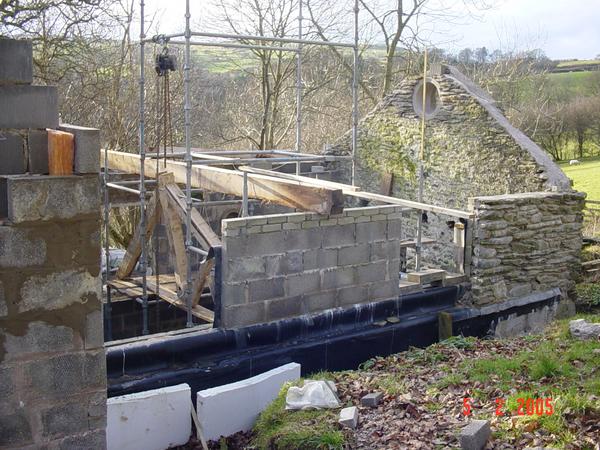
I had investigated the use of a crane to lift the truss into place. I had found one company who were prepared to come to my site for 500 notes, but if they got their crane stuck, I had to pay to sort the mess out - no way. I found two "block & tackle" on eBay for a tenner each, attached these to the top of the scaffolding, and slowly lifted the truss into place. The piece you can see here weighs 300KG, the horizontal beam weighs another 300KG.

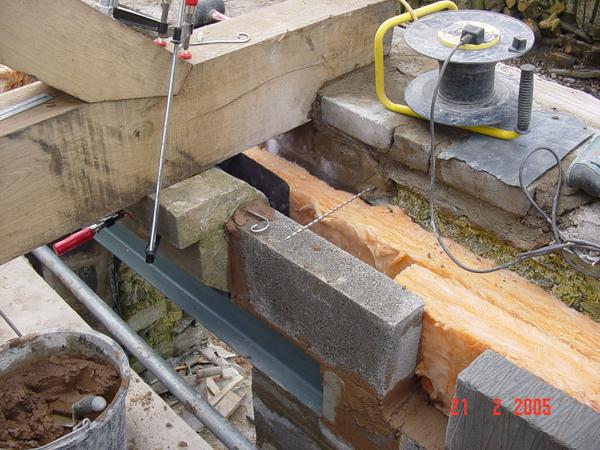
The 4x2 template was used to measure the join in the horizontal beam, a perfect fit was achieved. In this last picture you can see the bream resting on the walls, with a sandstone corbel underneath.
